Showing posts with label tutorial. Show all posts

Wednesday, April 6, 2011

the armchair makeover - not really a tutorial!


Today I get to show you how my chair has turned out.  Not totally perfect, I grant you, but for someone who's never trained in upholstery it's altogether passable and, most of all I enjoyed doing it.


I'm not really taking the credit here,  I simply followed step by step the advice of Mr Desmond Gaston (what a splendid name) whose book I bought years ago.   So this is not a tutorial, simply wanted to show you how simple this can be.


Here's the before and after, I found these two 'cousin' chairs a few weeks back, both upholstered in the pink material.  Both rather tired, but I liked their shape, known here as 'Napoleon III'

The first step is undressing the chair.  This gets messy - be warned, - definitely a good job to do outside.  I had no intention of re-doing the stuffing of the chair, I simply wanted to replace the fabric cover.


Once the chair was undressed I realised I was gong to have to replace the webbing straps supporting the springs in the seat and back.


With Desmond perched beside me and the right tool in my hand it was easy to stretch the straps tight and the seat magically raised itself back into the right position.

All the tools I needed are here, you probably already have most of them at home.  Essential are the tack lifter (5) and the web stretcher (2).


1.  THE book!  2.web stretcher;  3.curved needle; 4.scissors; 5.tack lifter;  
6. webbing; 7. tacks; 8. pins and large upholsterer pins; 9. stapler and 10. hammer.


Once I was happy with the spring support I could start re-covering, I used the pieces of material I had stripped off the chair as a pattern, and cut around them leaving an extra 2" in all  directions to allow for my inexperience and give me plenty to pull on.


As you can see I love to work outside, whenever the weather allows.  The picture below show one of the most fiddly bits, adjusting the pleats around the arm.   These big upholstery pins are really useful.


Reupholstering a chair in this manner is far easier than making a fitted slip cover because each piece is adjusted individually.  Get one piece right then move on.  Start with the seat, then the inside back; inside arms; outside arms then outside back, followed by a skirt if necessary.

I used one of my antique sheets for this project but bought some ticking for the seat.  I used a strip of the ticking to cover the piping around the little skirt.  Desmond approved of this idea!


The sheet I used was discoloured on one side so could no longer be used as a bed sheet.  The material was still strong and the small monogram rather pretty.  When the seat was finished I applied the monogram to the head of the chair with small hand stitches.


Voila!  Now I just have to do the other one, probably in matching materials.  Then I'll move onto the sofa.   For that I may well used this totally wonderful vintage ticking that I bought  at a brocante sale recently.  Just love this dark dark grey and white stripe, and love the ticking theme continued.  Next instalment soon  ... ish!


Tuesday, March 15, 2011

linen cushion tutorial


With all my stock of monogrammed sheets, I inevitably have some worn out treasures, that can no longer decently be draped across beds.  While sorting them today I decided to use two of the monograms to make  cushion covers for the guest cottage.

 I used
2 large monograms and remnants of the sheets, 
one heavy metis dischloth.  
a little ribbon
60 minutes of my time (OK it took a bit longer but I'm trying hard to make this sound easy!!)


I made this project as easy as possible.    Rather than fiddling around with buttons to close the cushion, I used sections from the hems of the sheets where I already had a perfect and wide hem, and overlapped these to form an envelope closing.


The first inset monogram is placed behind the linen cover piece.  Here I cut an X opening and opened up a rectangle to the exact size required.


I then basted the monogram in place before hemming it in with small tight stitches.

The second cushion was even simpler - I machine zig-zagged the monogram onto the centre of the cushion linen. 


Then to cover the machine stitches I simply stitched 4 lengths of narrow white ribbon and tied a little knot at each corner.  For those who don't like to sew, all this could have been done with fabric glue.


Once firmly in place I could sew my envelope backing pieces on.  Right side to right side, making sure they overlap enough.


Et voila!


And if you're looking for real old French pillow cases to decorate your sofa or bed,
check out what just arrived in my store.


Monday, March 7, 2011

bed upholstering - how to


Thank you all for your kind comments about the bed.  Yes it was fun to do - most of the time - and yes it's not that difficult ( otherwise I couldn't have done it).  So I don't really like the word 'tutorial' because it makes me sound like I know it all, here is just my version of how I proceeded.


When I bought the bed it was in good condition, upholstered in a slightly dated damask weave and painted shiny cream and gold.  I wanted something a little shabbier.


First step was to work out the paint effect I was looking for.  I worked on the horizontal side bars first, easier to manipulate and not so visible if I did something stupid.    Using a thermal paint stripper and sandpaper, I rubbed away at the paint until I finished with the chippy, half sanded look that I was after.


Above is the before and after on the side bars.

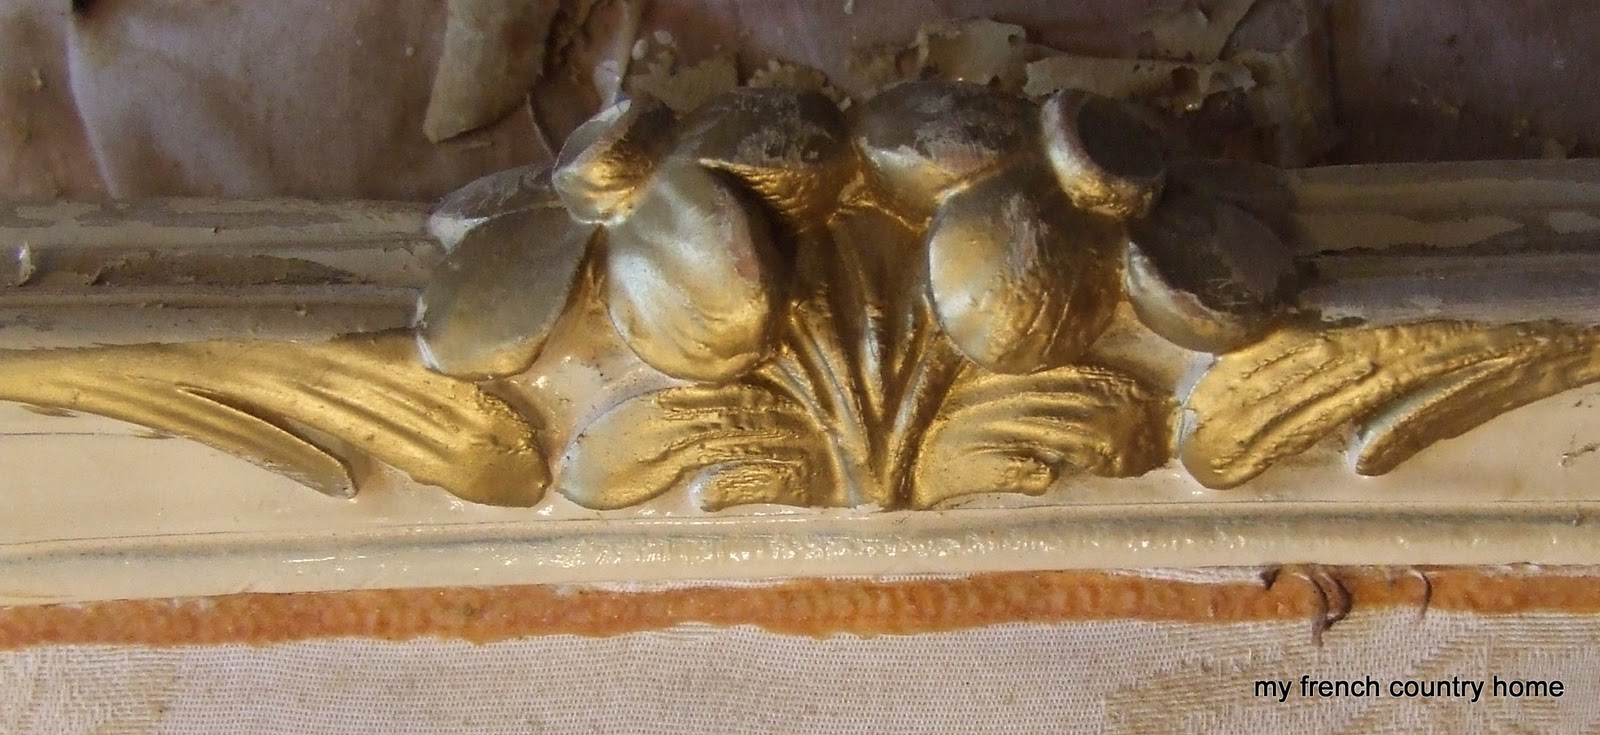
Here below is the before, during and after of a carved detail on the bed head.


In this first picture I have just removed the trim that covered the glue.

In the second picture I have stripped and sanded as far as I wanted.  Note the damage to the material.  This is why it's a good idea to leave the old material on while treating the wood.  I didn't mind the damask being burnt or ripped, but I wanted to preserve the stuffing beneath.


 This last picture show the same moulding, sanded, waxed and witht the new covering and trim.


 These are pictures of the stage where I slightly lost the plot.  I should never have tried removing the damask without checking what was going on underneath.    When the old fabric came off, instead of finding the lining I was expecting, I was straight down to a synthetic stuffing, just packed in loose.  GRRR!  Here I spent alot of time removing hundreds of staples used by the last upholsterer.


My family heard ALL ABOUT the stuffing incident, as I stomped and cursed and groaned my way through clouds of volatile padding.  In the end I pinned the stuffing down under  a thick wadding material , got it as flat as possible then started positioning the linen.


I had cut the linen sheets carefully in pieces that allowed about 3" extra material all round.  This is vital for pulling on the material and achieving the taught look.

Now comes the most difficult part - for  a non-pro like me.   You have to pull hard on the fabric, and staple as you go.  I worked from the centre outwards, keeping a close eye on the corners as I went.  The bedhead wasn't too hard, but the curved corners of the foot of the bed proved trickier.  I admit that I stapled and unstapled a great deal - the family heard ALL ABOUT this bit too.


Once I was at last satisfied that the material was really taught and smooth with no unsightly ripples or creases, I cut back against the staples so that the fabric only just came to the wooden edge of the bed.


This was the easy bit, using fabric glue I simply had to position the passementerie  or trim I had bought and  cover the staple to make the bed look finished.


I then had the fun of setting up the whole thing in the sunshine, just for the sake of the pretty pictures I showed you yesterday.   Oh yes, and by the way, when you have a project like this, check the staircase before you get too excited - this baby had to go in via a ladder and through the window.  Just one way to spend an afternoon!


Just for info, here are the only tools I needed, thermal paint stripper, sandpaper, pliers and screwdriver for removing staples, stapler, fabric glue,


I am happy to be linking up to the DIY Project Party at the DIY Club
DIY Club 


and to this weeks Project Parade at
The DIY Show Off

The DIY Show Off


PS.  A thank you to all of you who have noticed that my thumbnail pic is no longer working!!  I think that blogger is punishing me for having tried to hand out tips on getting around their latest teaser!!  GRRRRR!!


Tuesday, February 1, 2011

handpainted walls and mangle irons - welcome to my life!


When I showed a picture from my bedroom yesterday,  I didn't know that so many people were going to ask me about my bedroom wall or my  ...  mangle iron!!


First the wall - when we redecorated our bedroom almost 2 years back (sorry no before pictures, I didn't have a blog in those days!)  I used paint colour from Flamant that I love, but decided I wanted a little texture on the biggest wall behind the bed.


We hummed and haaa-d about buying a huge painting, but had just blown the budget on the bedroom and bathroom renewal, so I grabbed some paintbrushes.  As my husband optimistically pointed out, " if it doesn't work we can always paint over it!"


I drew a roughly scale outline of  the wall on paper and established where to lay my curls and swirls, practised a few colour combinations on an old board, poured myself a glass of wine, put on some music and went for it.


The same wall colour is carried through to our bathroom.
This really isn't that difficult to do, providing you keep it simple, have a clear idea about
the pattern and overall layout, and it's definitely good fun ....
which brings us neatly to the subject of mangle irons!


Not so many photos for this one, but without my ironing machine I'd be in trouble.
All our sheets, tablecloths, t-shirts and a whole lot more zip through
this iron in no time at all.
Love it!
PS  If you are looking for a proper tutorial on mangle irons, then search no longer!
Gina has it all ... here!